Mt Vision Clay - Slip Experiments
Slip is clay mixed with water and has been used for thousands of years as a decorative paint for our pottery.
Clay is derived from eroded rocks and is an extraordinary material that is plastic when moist and hard when fired in a kiln. It's composed of fine particles with an abundance of aluminum silicates and other minerals.
We use clay to make the forms of our pottery, pinching and coiling by hand, or throwing on a wheel.
Geologists define two types of clay, Primary and Secondary. Primary is clay that forms through the decomposition of its original material without moving its location. It's decomposed rock that is never transported. Secondary clay, which is more common, is decomposed rock that has been transported and collected in a new location, like a riverbed or estuary, through weathering processes.
On the slopes of Mount Vision, away from its creeks, primary clay from decomposed granite can be found in small quantities.
I've not yet tried to make a piece of pottery from this clay. It's been done by JB Blunk, for one, who lived up the hill from me, but I have started to experiment with slip made from it.
Making Slip
Making slip involves the following steps;
- Find and collect clay derived from the decomposed granite on the property. The clay is not terribly plastic. Without additives it would be difficult to use to form a piece of pottery by hand or on the wheel (this is a future experiment). I usually find it in road cuts during the wet season.
- Slack it, mix the clay in water, let it settle and pour off the excess water.
- Sieve the mix using at 40M, let it sit overnight and pour off the excess water.
- Ball Mill the mix for 90 minutes using a 50/50 volumetric mix of the wet clay and water. 90 minutes was a first try, it's not a benchmark.
- Dry in a plaster-of-Paris bat.
- Crush the dry clay with a hammer and add water to the desired consistency
- Sieve again using a 120M mesh, which is very fine, to create a paint.
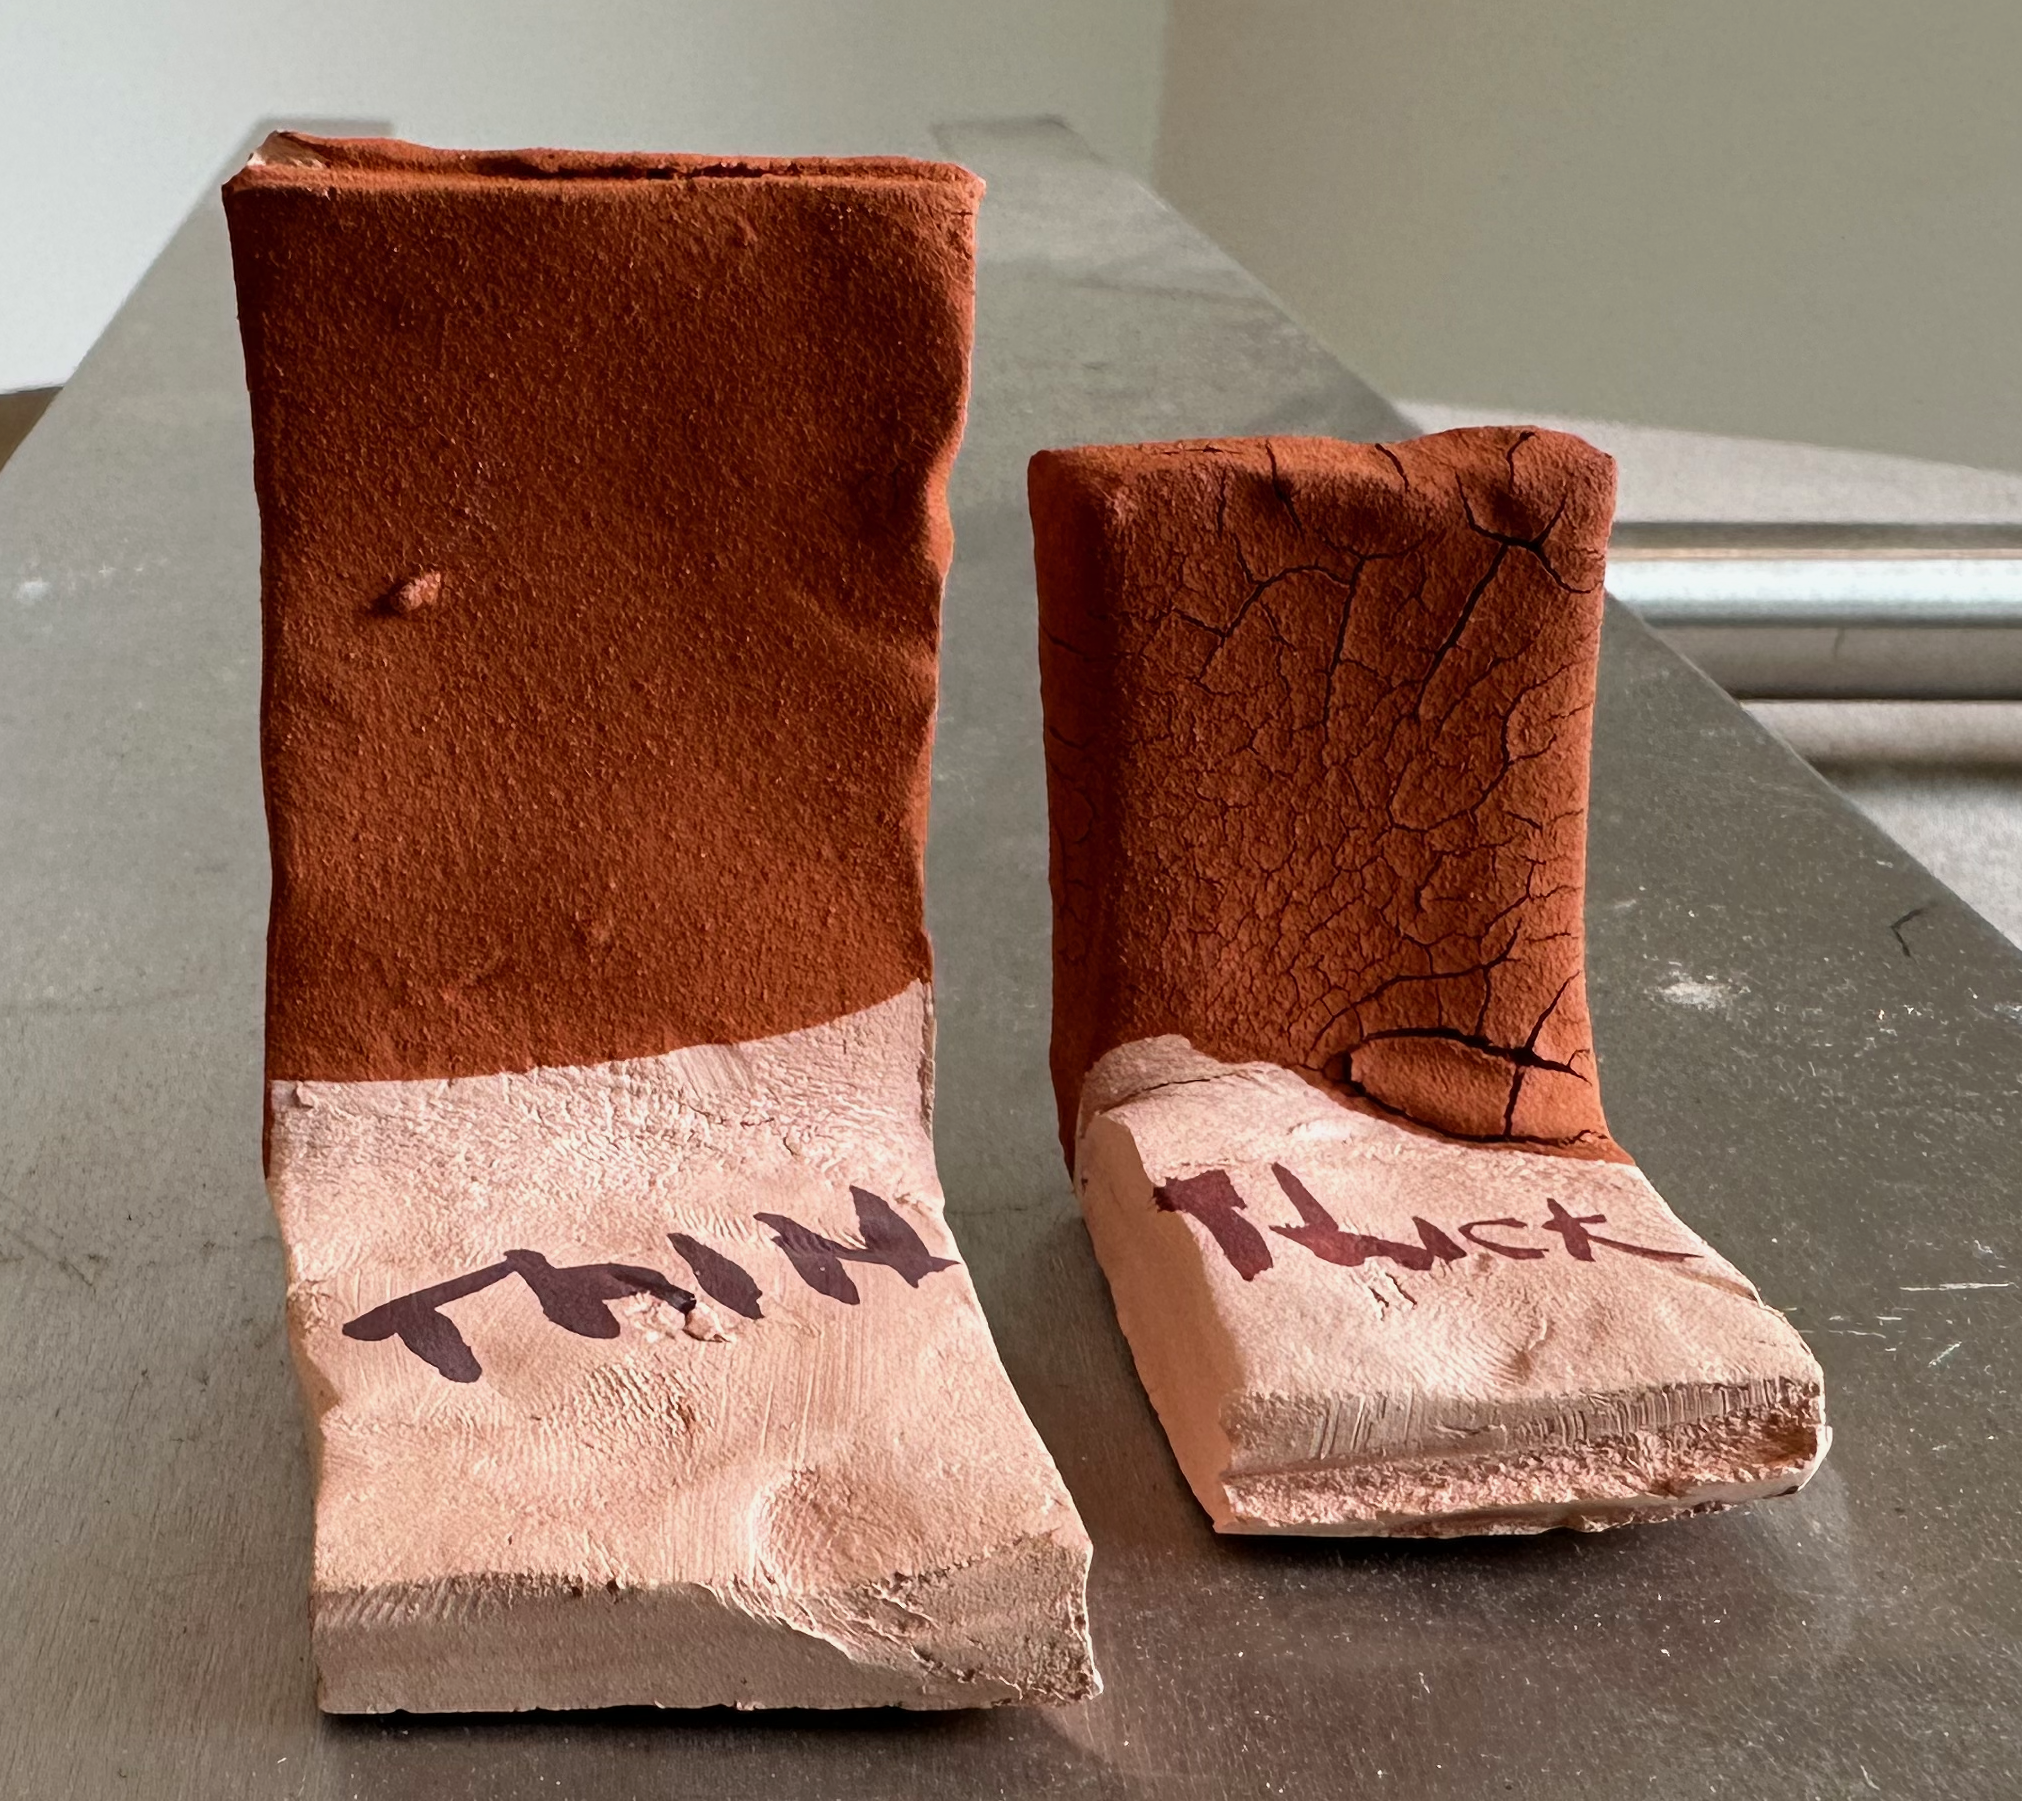
Initially I sieved the final product at 60M, as opposed to 120M, and found that if painted thinly, a rough, but serviceable paint is achieved. But if applied thickly it would crack (see below).
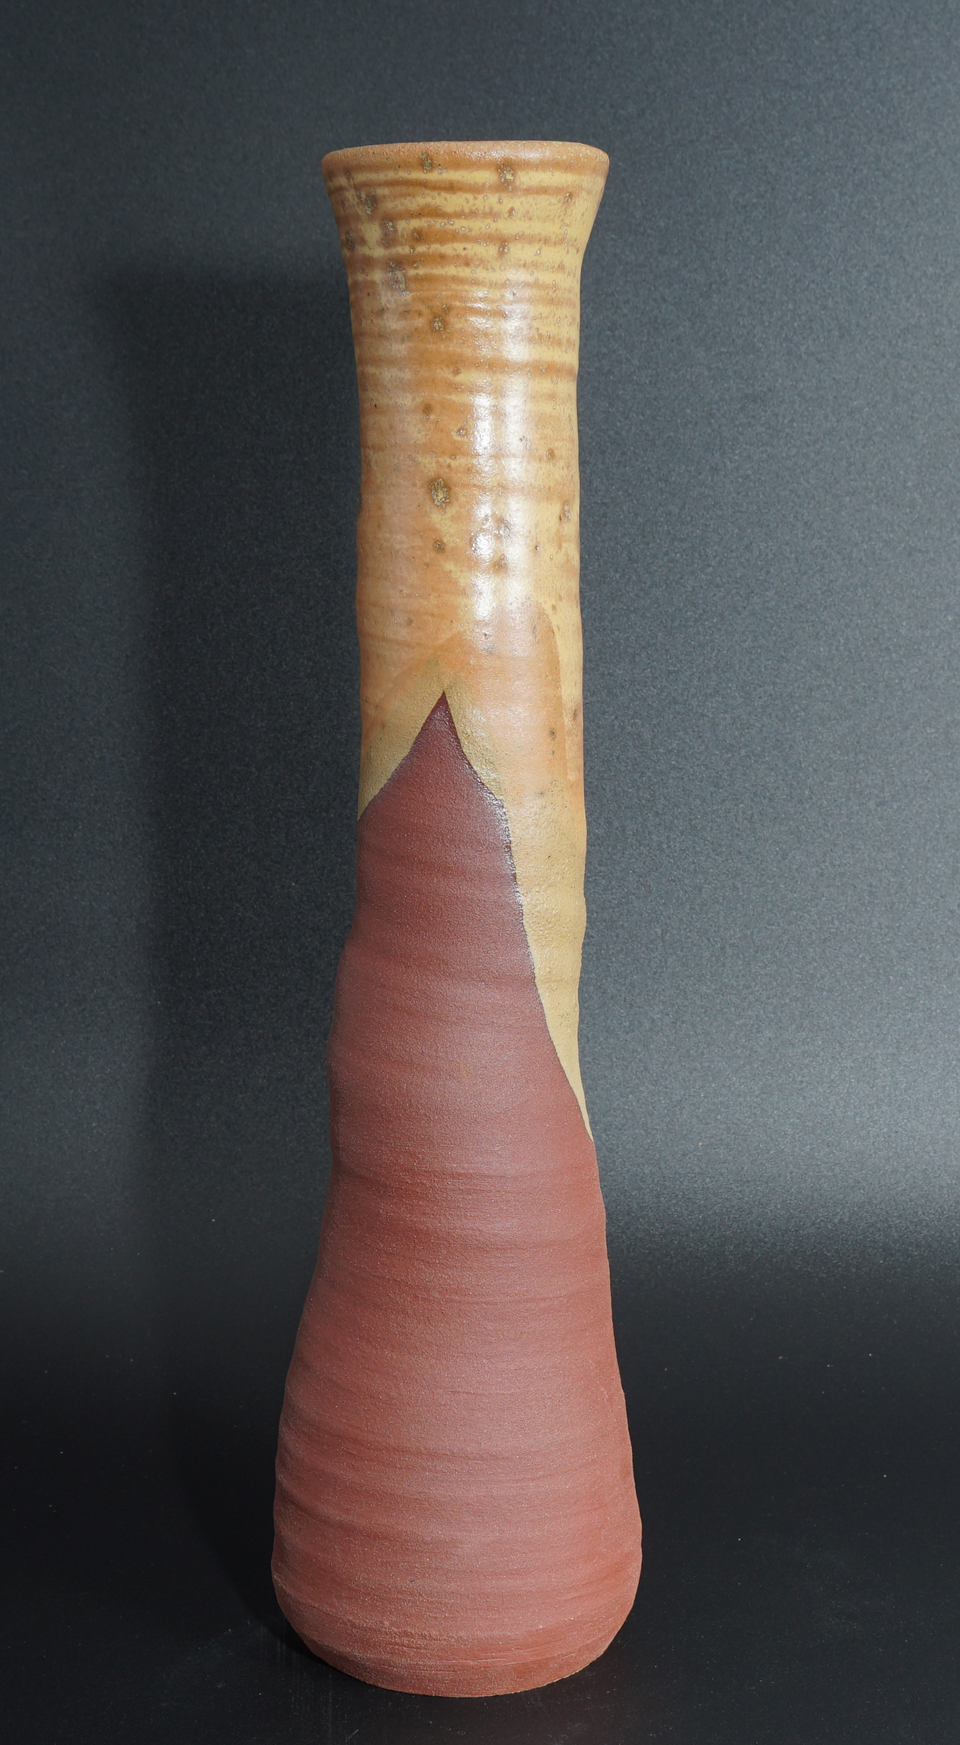
The cover image (above) of a tall vase with slip on the bottom two-thirds was lightly painted with a 60M sieved slip. The yellow glaze that covers it is named V.C. Matte Yellow, from John Britt's book.
Eventually it occurred to me make the slip more "paint-like" by sieving it further, after all this is what the ancients did.
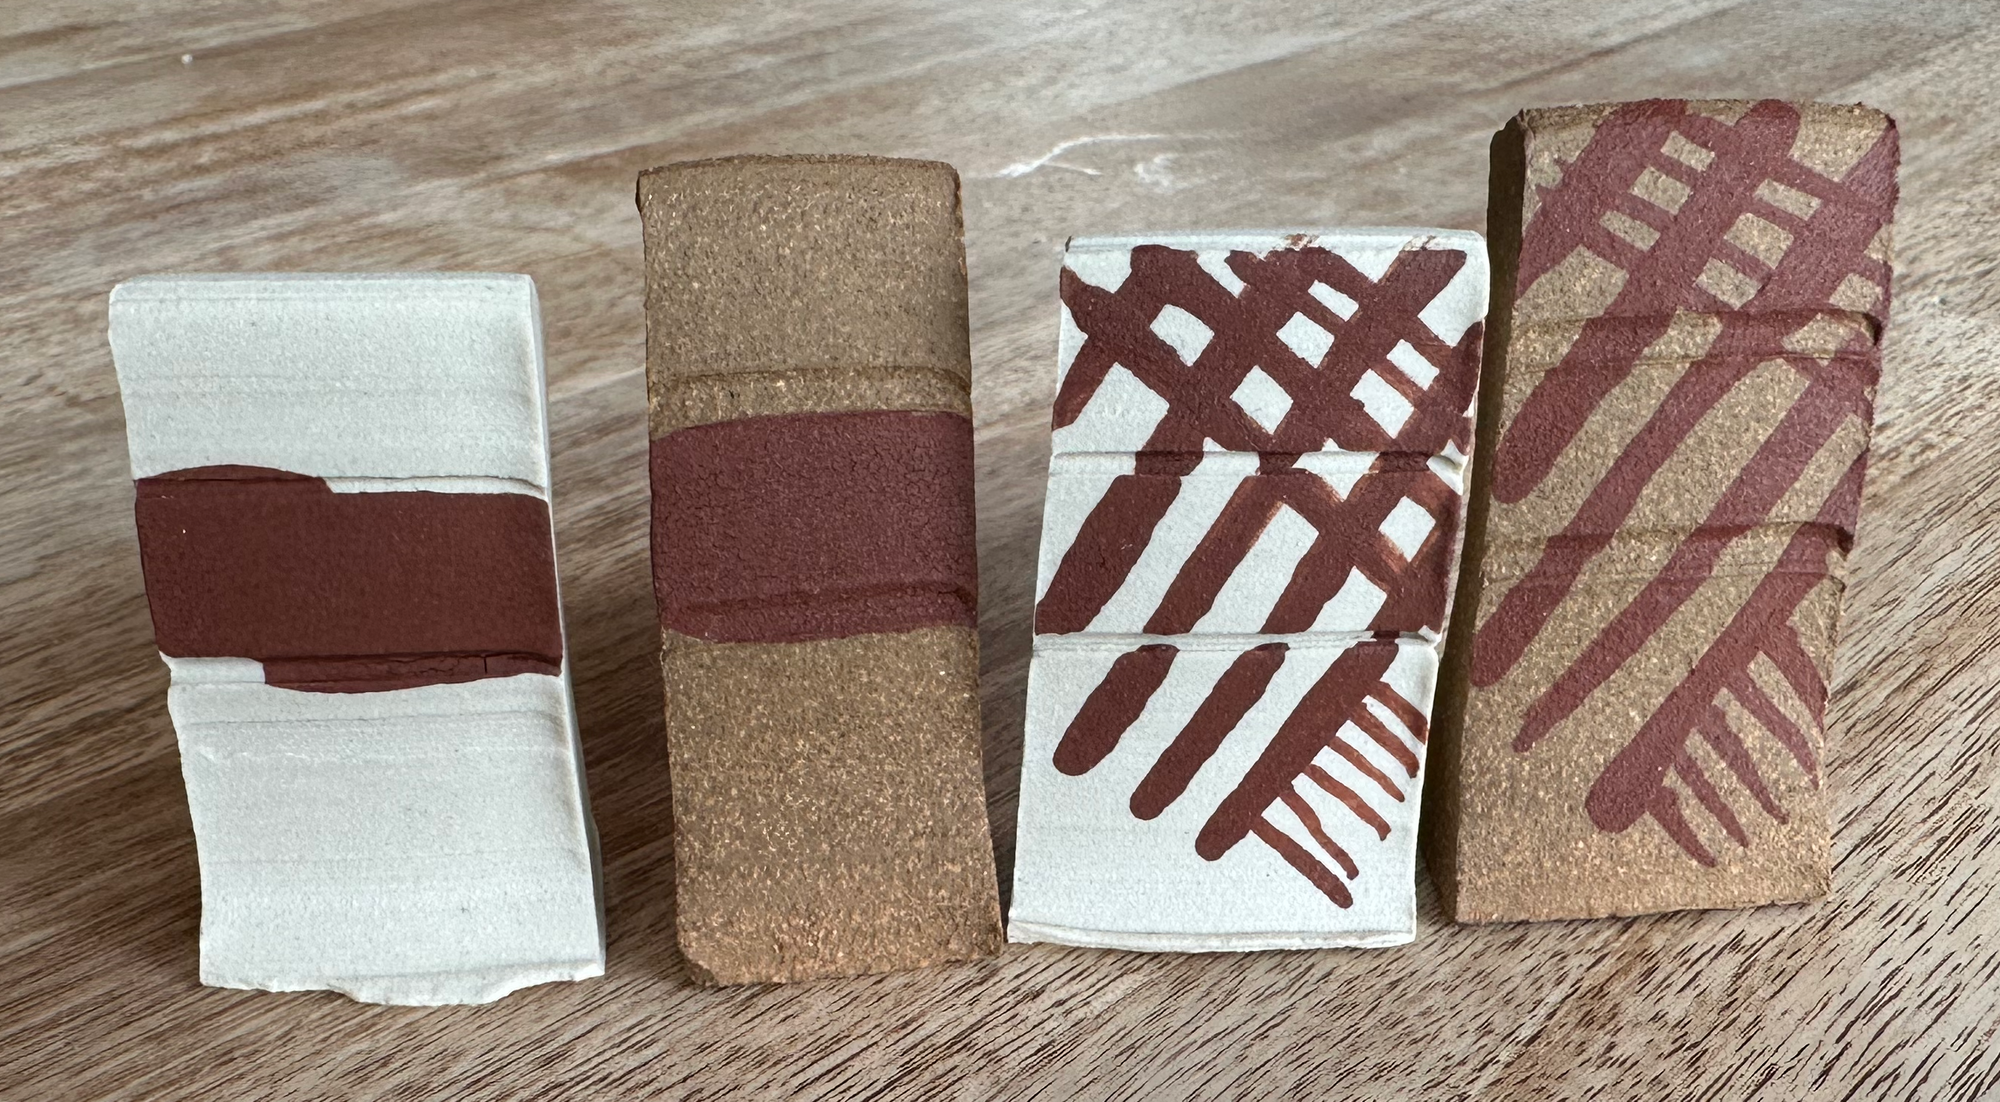
The resulting 120M product is refined and easy to apply (above). There is a lot of iron naturally in the clay and so it fires a dark-red in my oxidized kiln, much darker than the bisque ware above. It's attractive in an Earthy way.
If covered by another glaze it turns dark brown-black (below). When covered it is exposed to less oxygen and so in such a "reduction" environment an iron-rich slip will turn brown-black instead of red.
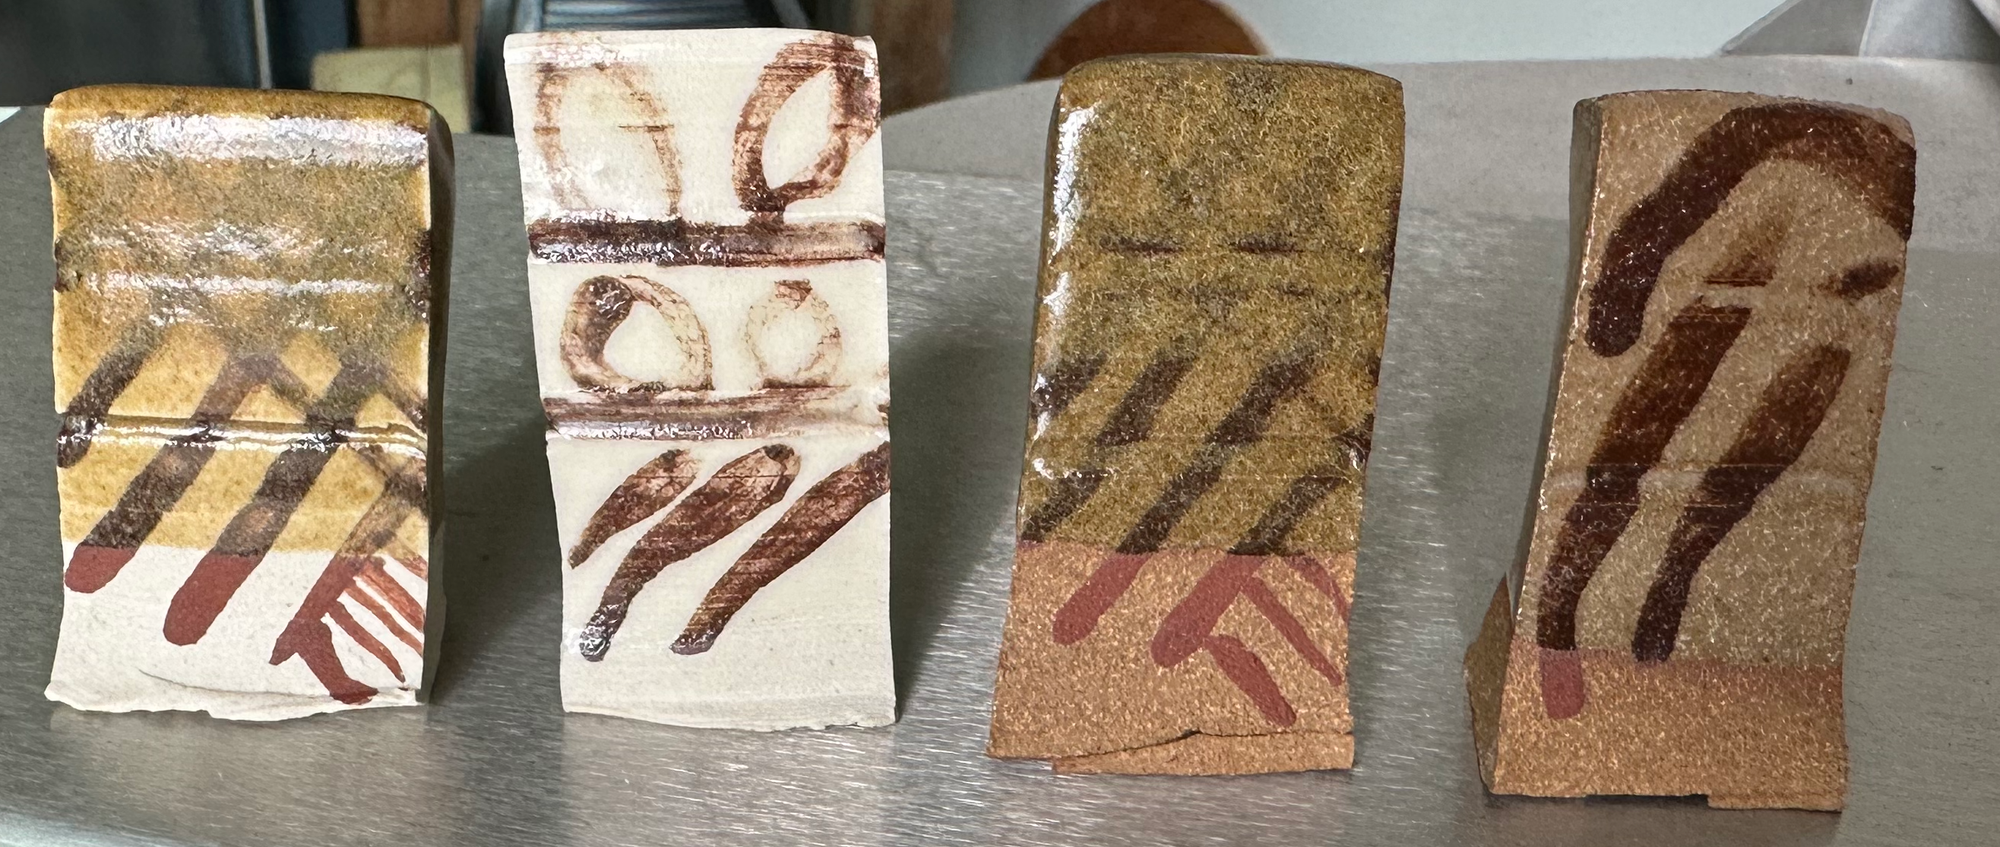
In the image above we have two glazes over the Mt Vision Slip, on B-Mix and Sedona Red clay. The first glaze is the Mt Vision "base" Granite glaze (no colorants). It's the yellowish glaze on the left side of each pair of tiles. The second glaze is called F.M. Matte White, also from John Britt's book, which comes out almost clear in this example (right side of each pair). Note the White over Slip examples use a slip sieved at 80M, instead of 120M, and they didn't paint on quite as well as the 120M (left) examples.