Processing
How to pulverize granite to powder.
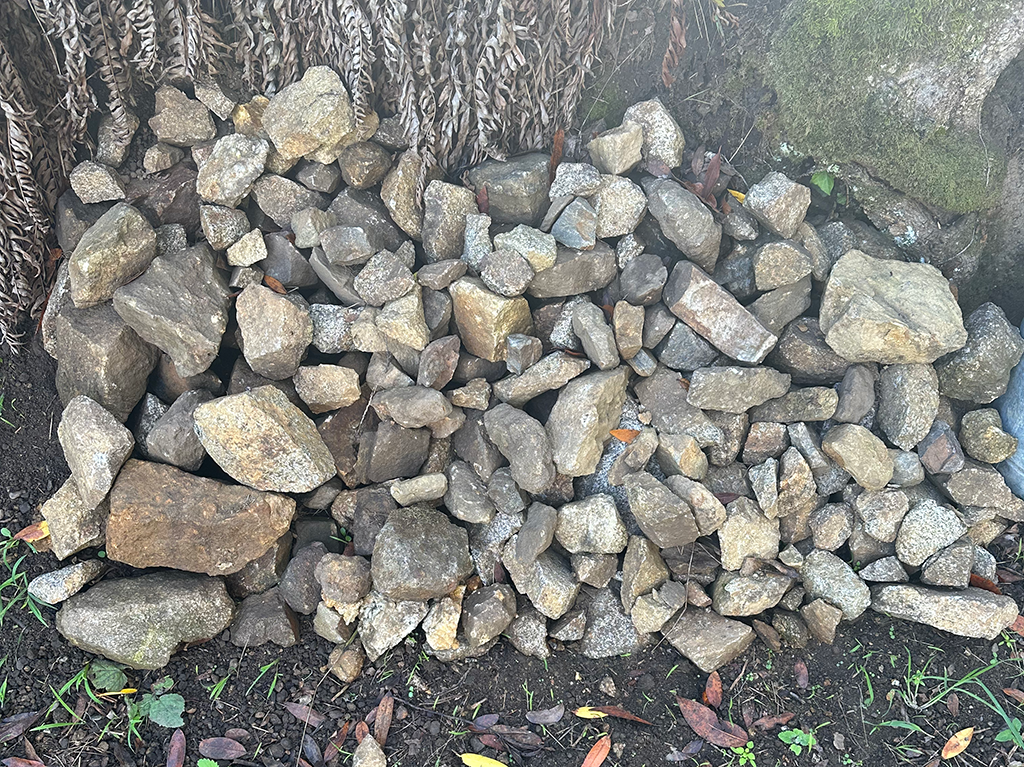
For use as a glaze material, the granitic rock needs to be reduced to a fine powder. It's not a complicated process, but it does take some time and effort.
Step 1: Gathering
Best practices dictate to always obtain permission to collect raw materials from public or private lands.
I'm lucky, I go outside in my back yard and pick it up. There is a lifetime supply.
Step 2: Calcination (Baking)
Calcination is a technical term for heating a material below its melting point for the purpose of causing thermal decomposition. In other words, we are heating the granite in a kiln so it will be easier to crush. And it works.
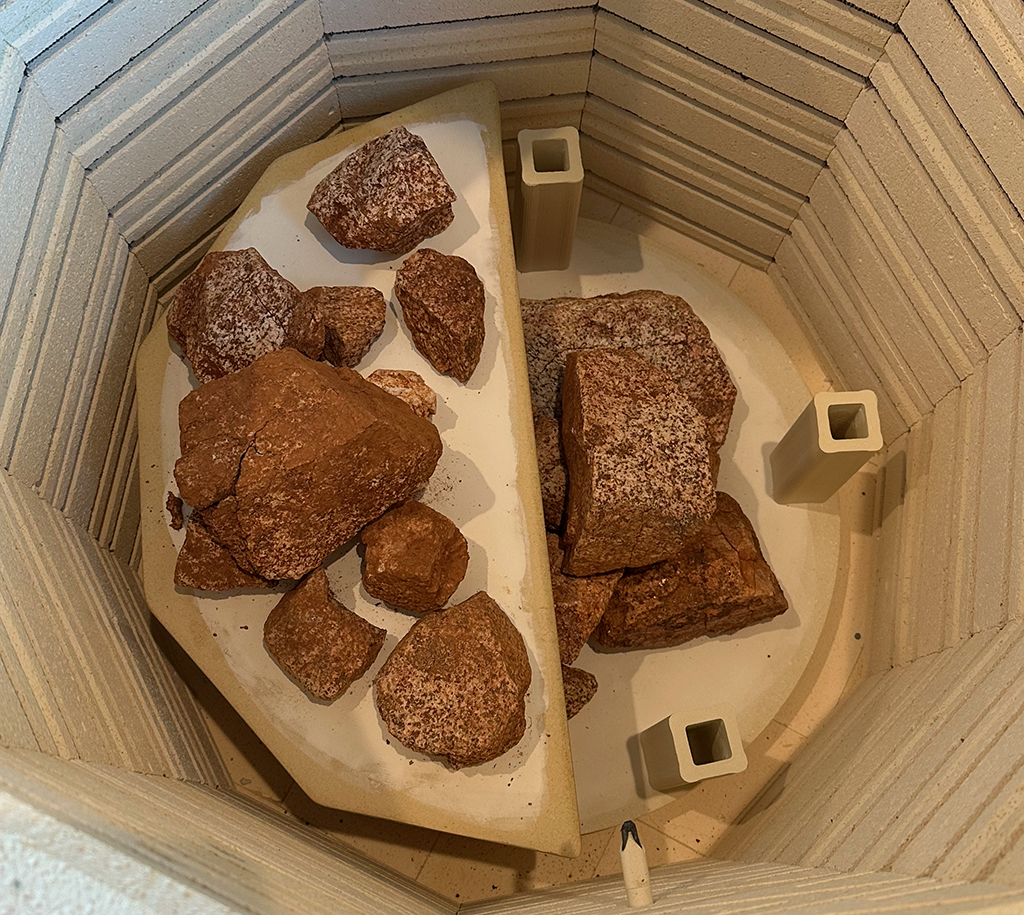
The granite is washed of dirt before loading it into the kiln and then fired to 1200 degrees Fahrenheit using the schedule below, which takes about 20 hours.
| Ramp | Rate | Temp (F) | Hold |
|---|---|---|---|
| 1 | 50 | 180 | 03:00 |
| 2 | 50 | 450 | 02:00 |
| 3 | 100 | 1200 | 00:00 |
After calcination a reddish hue is visible due to the oxidation of the iron present in the granite. With this schedule, the larger pieces remain intact while the smallest pieces sometimes crumble. No explosions thus far.
Step 3: Crushing
This is the "fun" part. A two step process is employed to crush the granite is until it can pass through a 6mm sieve.
First: Break the calcined granite into ~2 inch or smaller pieces
For this purpose the contraption shown below was created. It's is a bag of cement poured into a wooden form with plywood siding added to capture the splatter. A short-handled sledge hammer is used to break the granite up into pieces of about 2 inches in size or less, appropriate for crushing.
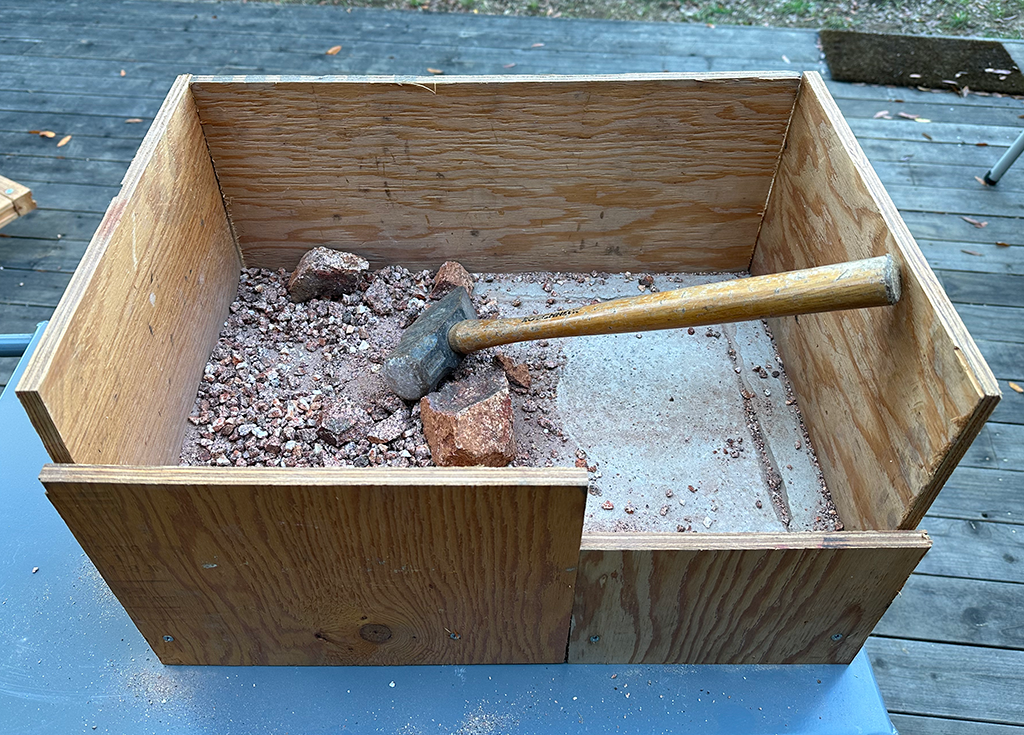
Second: Crush and Sieve
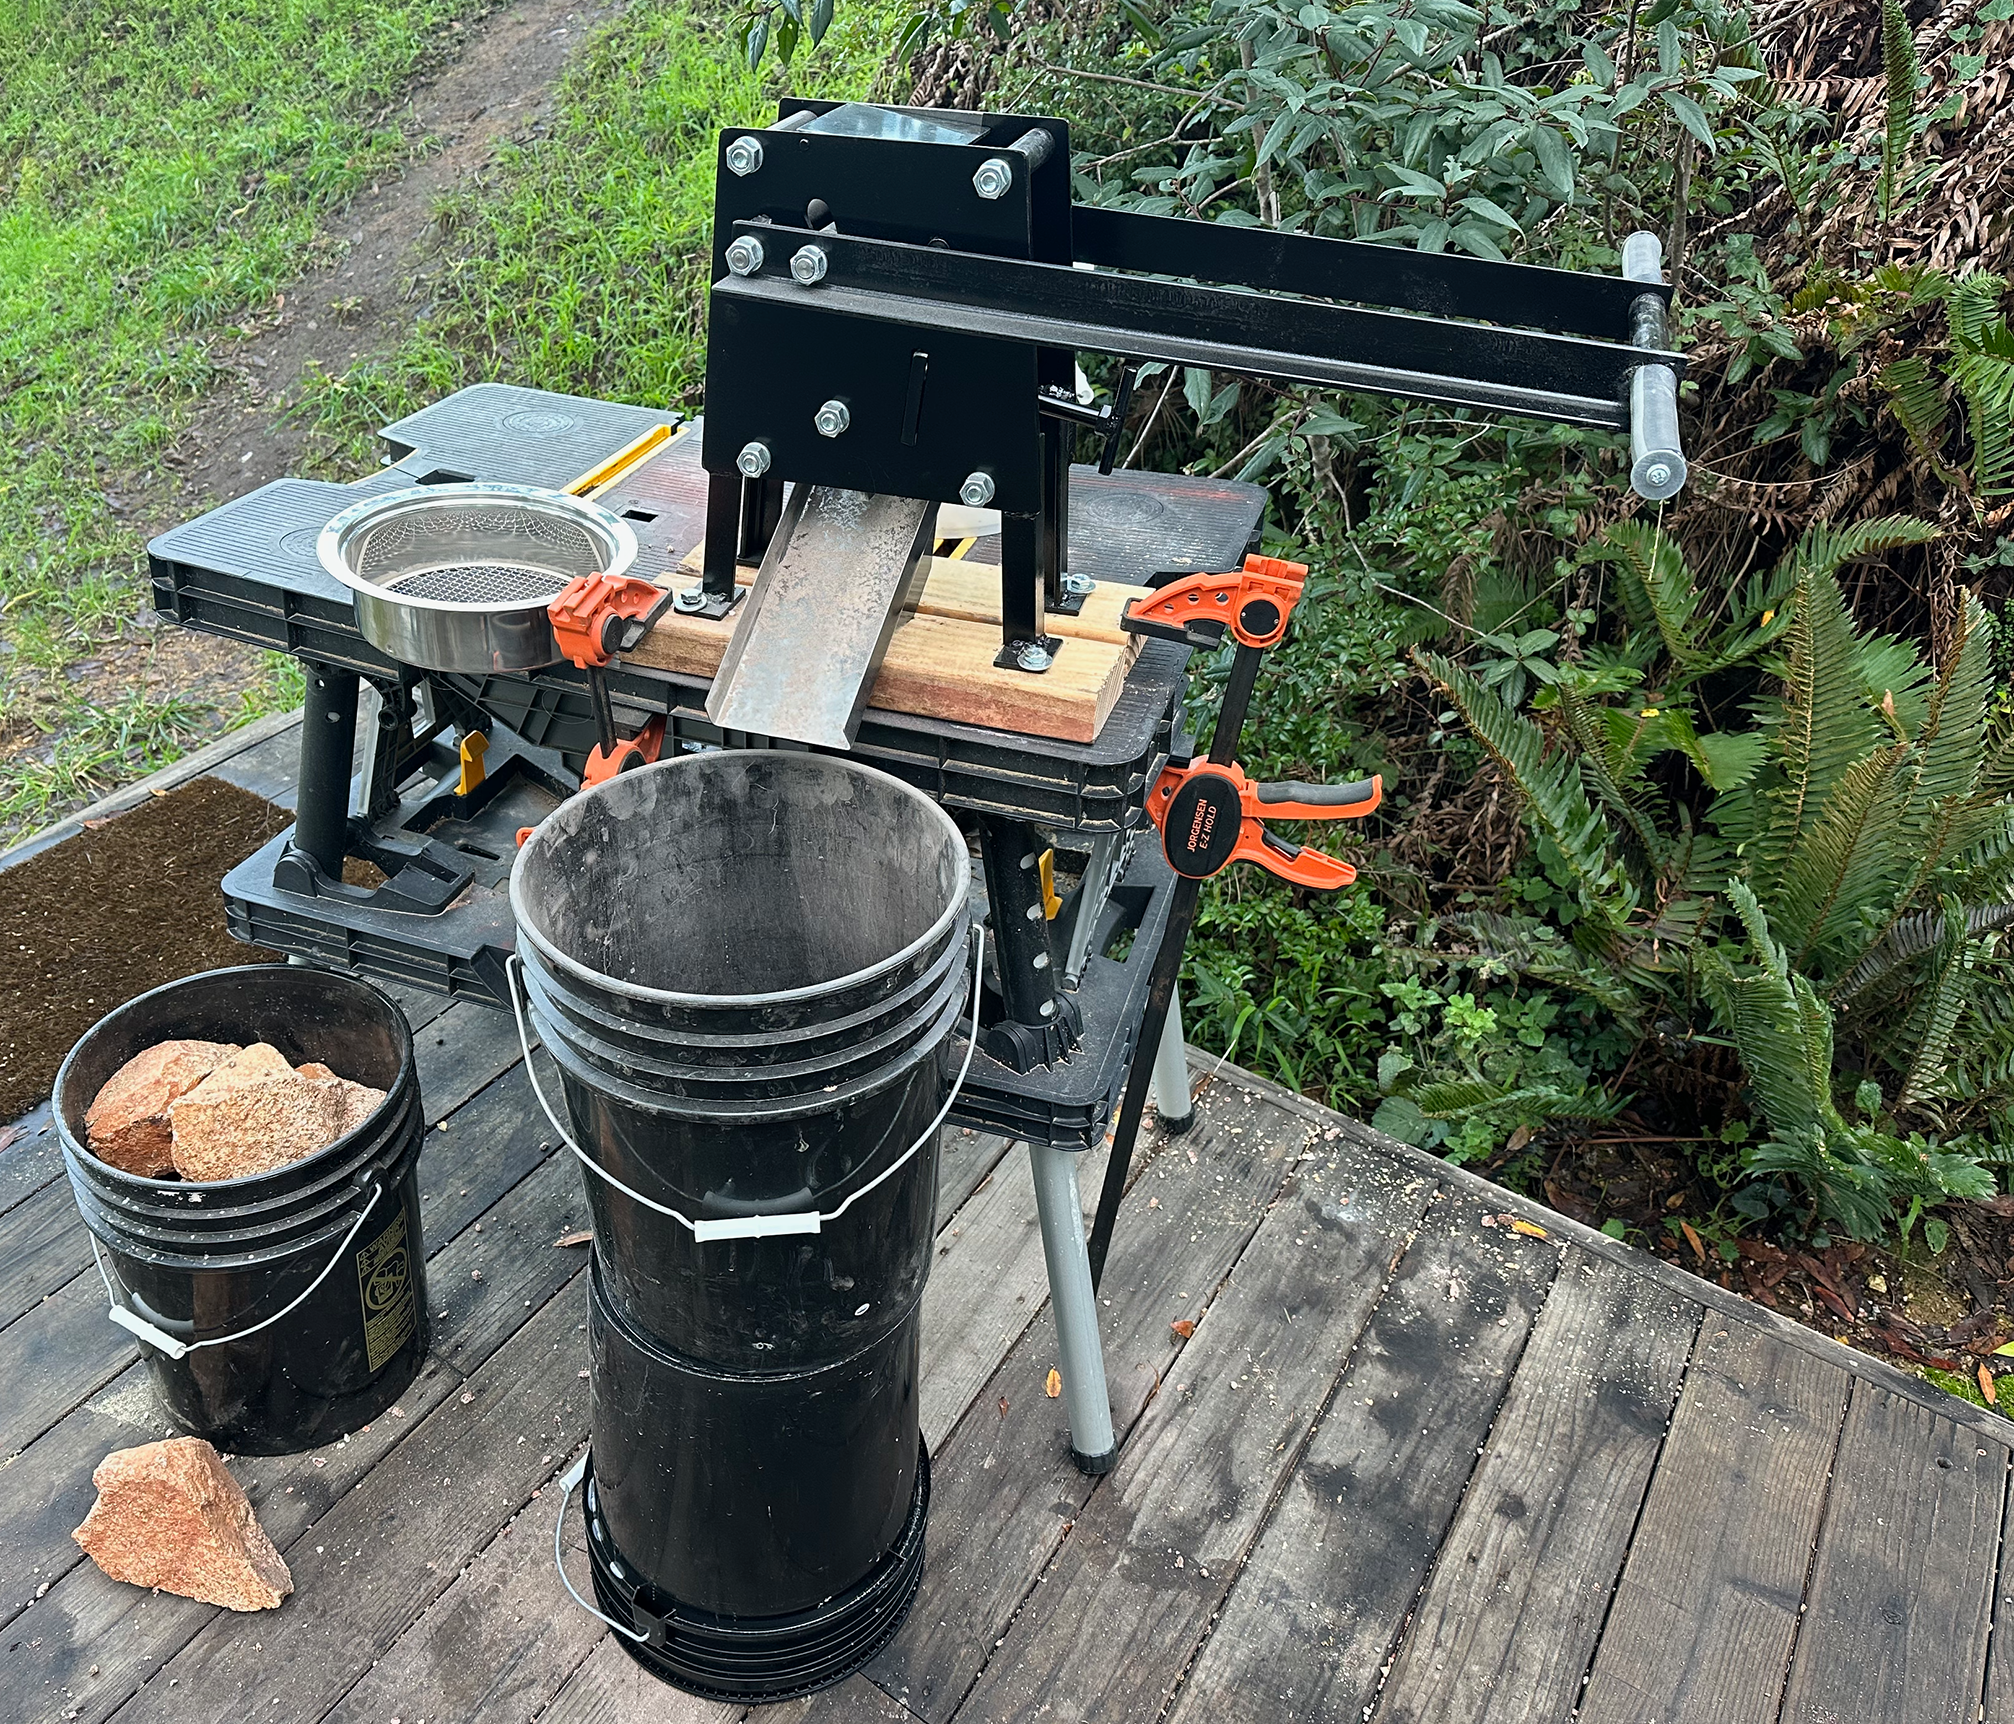
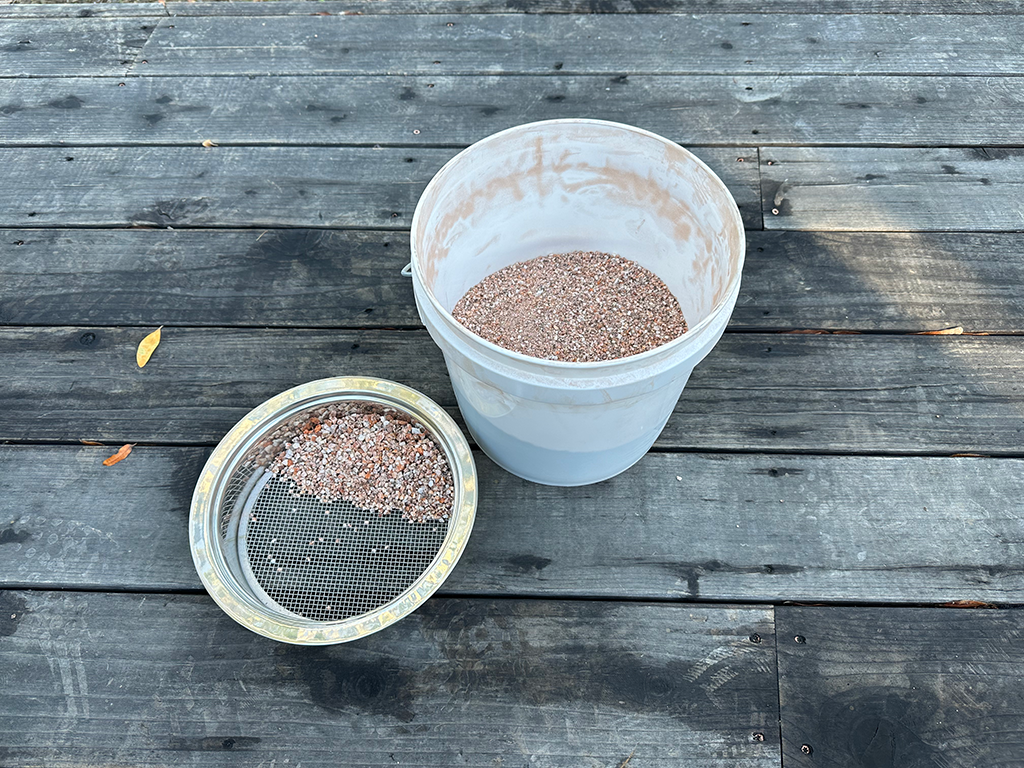
The broken chunks are progressively passed 3 times through a Crazy Crusher rock crusher, after which the output will easily pass through a 6mm sieve. The Crazy Crusher is very efficient and is much easier and faster than when this whole process was performed as shown above using the sledge hammer (phew!).
The granite after sieving looks like this.
Step 4: Milling
Next the crushed granite is milled into powder using a ball mill and a 5-liter porcelain vessel filled with porcelain balls. The vessel is mechanically rolled on its side to create a tumbling action.
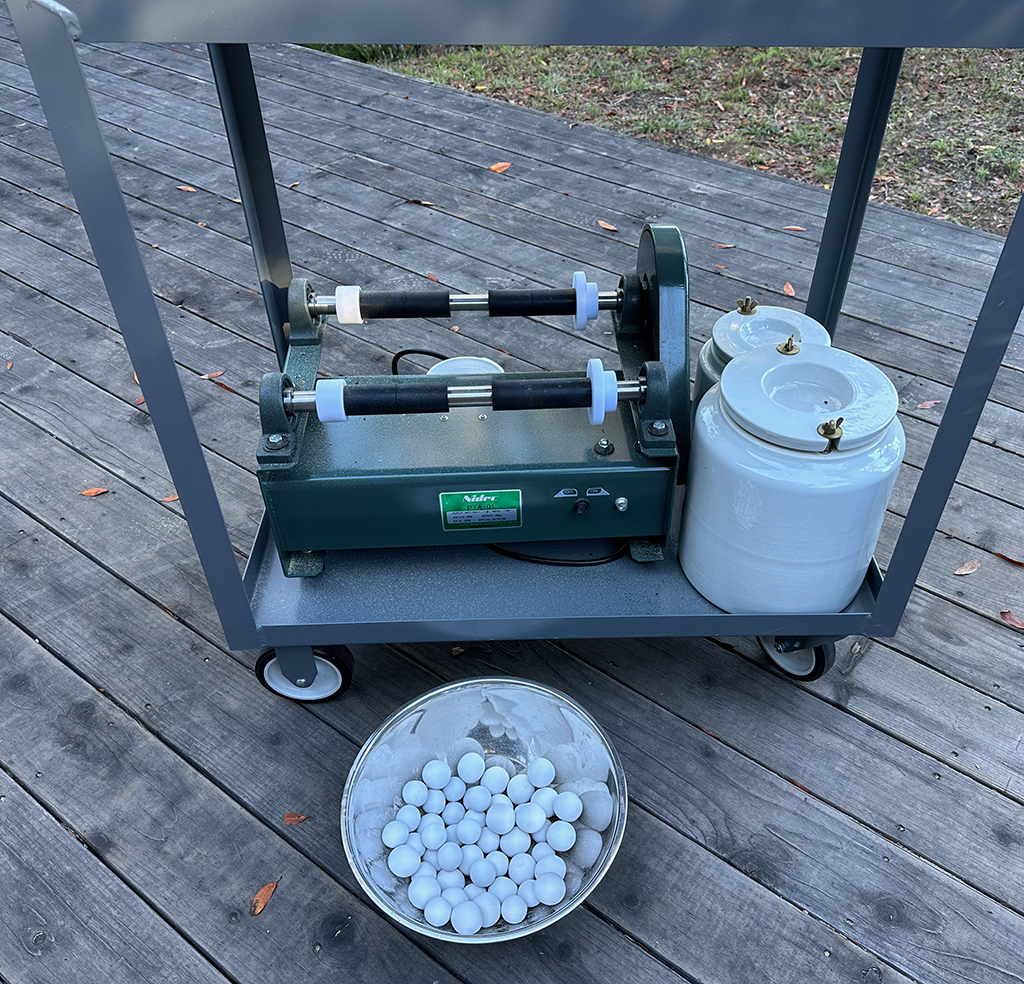
For further details on milling, see "Milling Tests" below.
Step 5: Sieving and Drying
Once milled, the wet batch is sieved into a bucket using a 60M mesh and then left to stand overnight. After pouring off excess water the charge is transferred into a plaster-of-paris elliptical platter for drying (below).
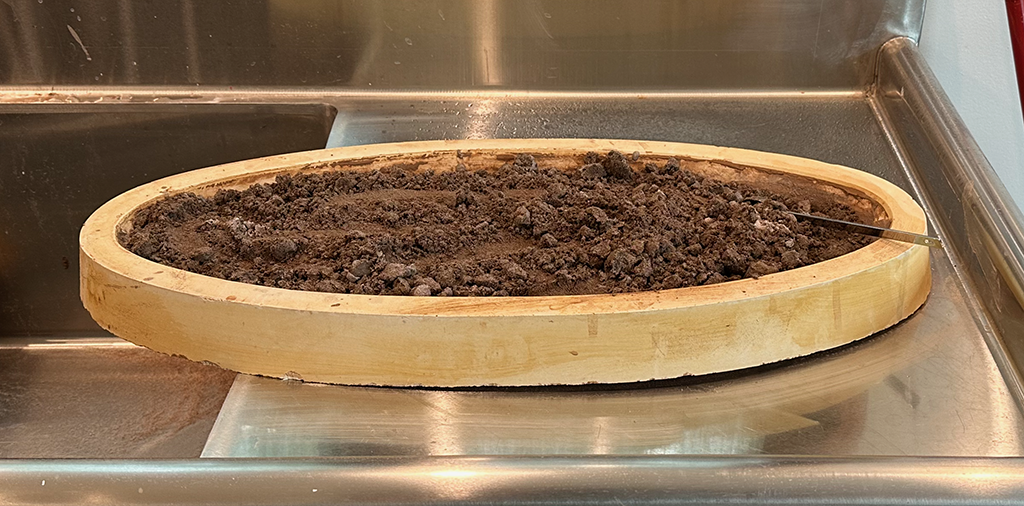
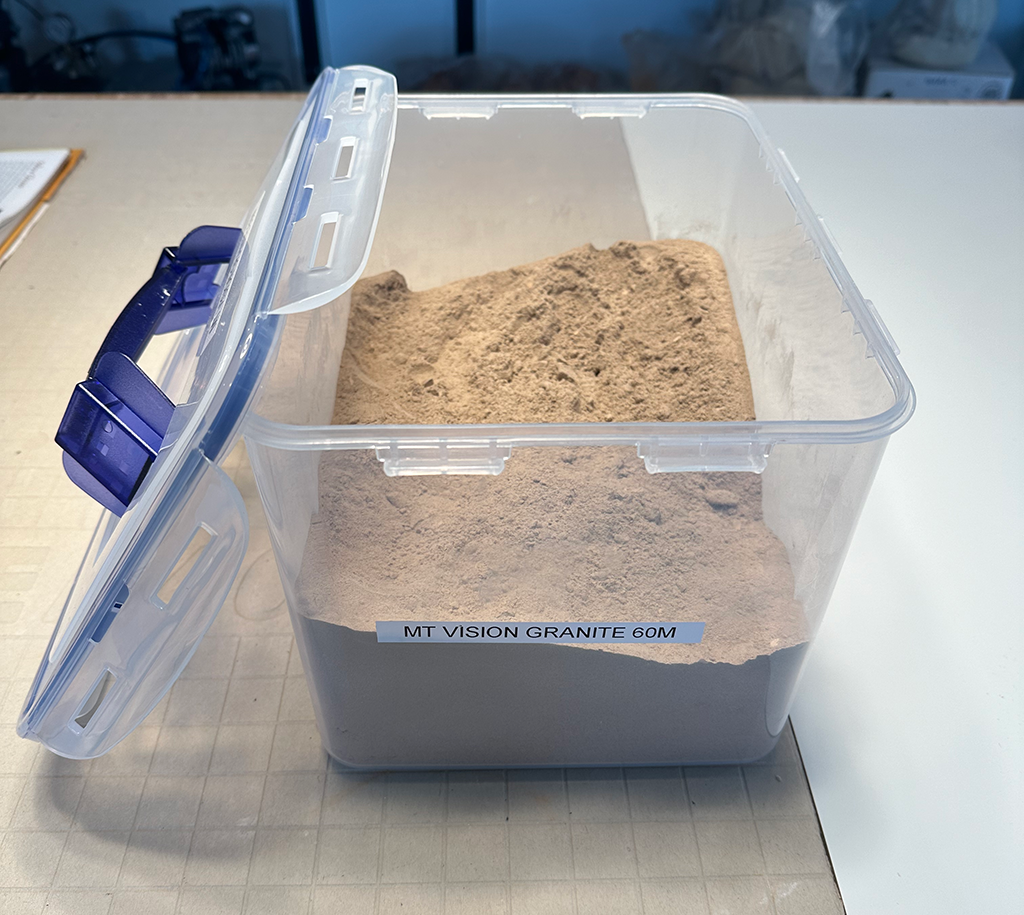
Some days later the powder is dry and can be stored for use. And we are done!
Milling Tests
Over time it became apparent that rock selection, the milling process and batch size (total amount milled and mixed together) can have a big impact on the final product. To begin to understand this better, the following five milling tests were performed.
The granite selected for the tests was sorted to contain only Granodiorite (as opposed to Granite). The granite was calcined and crushed until it passed through either a 6 mm or 3 mm sieve. It was then milled in a 5-liter porcelain jar using porcelain balls as described in the table below.
| Test | Seive (MM) | Charge (LT) | Water (LT) | Milled (HR) | Residual (%) |
|---|---|---|---|---|---|
| 1 | 6 | 2 | 2.5 | 6 | 50 |
| 2 | 6 | 2 | 2.5 | 8 | 38 |
| 3 | 6 | 2 | 2.5 | 12 | 20 |
| 4 | 3 | 1 | 1.25 | 3 | 31 |
| 5 | 3 | 1 | 1.25 | 5 | 6 |
A glaze from each sample was formulated as follows: 150 gram batches of 70% granite and 30% Wollastonite, mixed with 150 grams of water that produced a glaze with a specific gravity of ~1.5-1.55.
The glaze was sieved at 60M to produce a first set of test tiles. The remainder was then sieved at 80M to produce a second set of test tiles. The test tiles are B-Mix.
We are seeking a glossy (glassy) glaze, meaning well melted, that optimizes milling time and residual material. We are also interested in detecting over-milling, if possible.

The results for Tests 1 - 3 are shown in the figure above. The first number is the milling time in hours and the second is the mesh size used to sieve the glaze. It's perhaps difficult to tell from the photo, but Test 2, the 8 hour batch, produced the best melt. Comparatively, Tests 1 remains matte and Test 3 is glassier than Test 1 but not as melted as Test 2. The 80M sieved versions are in general more melted than the 60M versions.
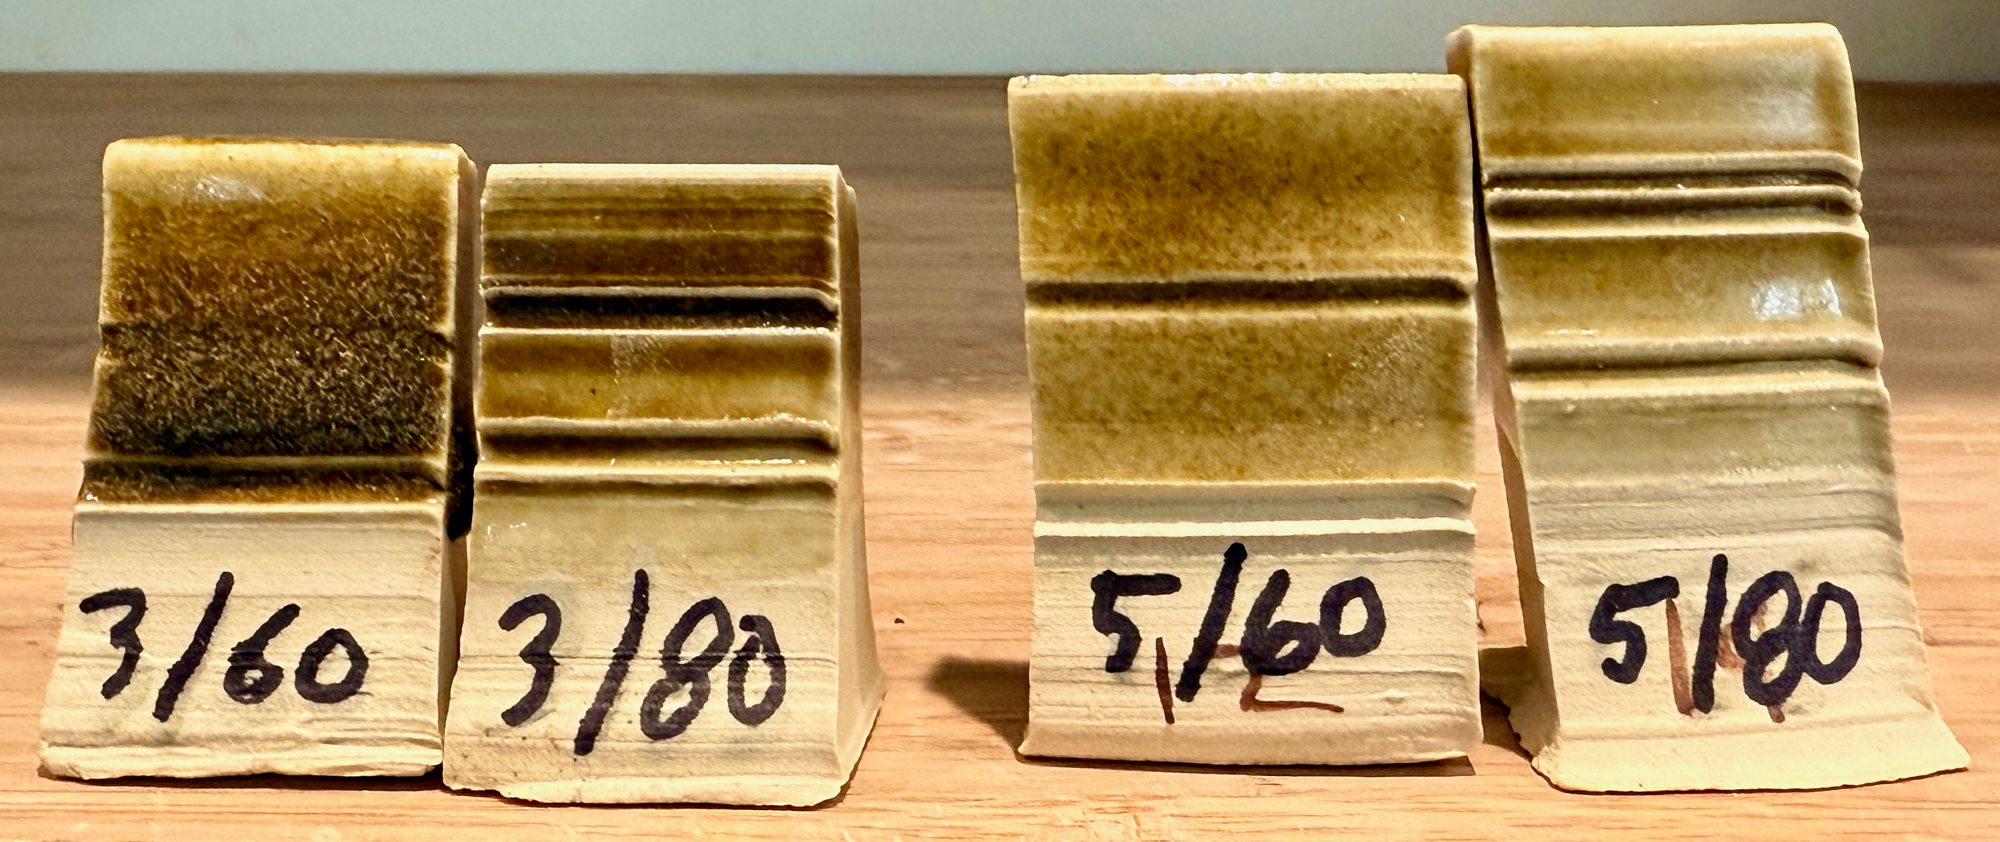
The figure above presents the results for Tests 4 and 5. These batches were crushed more finely before milling than Tests 1 - 3 (3 mm instead of 6 mm) and correspondingly milled for a shorter time period, seeking optimizations. Surprisingly (to me) they are not any better, remaining matte and not well melted, leaving Test 2 the clear winner.
In summary then, moving forward, until more tests are made, the milling process will be the following:
- Pass crushed granite through a 6 mm sieve
- Mill for 8 hours using a 2 liter charge of granite with 2.5 liters of water
- Reuse the residual in the next batch (35% - 40% expected)?
- Consider sieving the final glaze product at 80M or even 120M
Each batch produces about six pounds of dry glaze material
Future tests needed
- 6 mm / 10 hours
- 3 mm / 8 hours & 12 hours
Notes:
- Micas are relatively soft minerals in granite, but can be hardest to mill due to their platelet structure.
- Micas also have the lowest melting temperature of the minerals in the granite but can be resistant to melting when they remain as particles in the glaze. This may also cause the roughness sometimes observed in the glaze. Their number can be reduced by sieving the final glaze, which improves melting and reduces the roughness..
- 4% Zinc Oxide as an auxiliary flux helps melt the mica (and the rest of the glaze material). Sometimes the glaze will melt without Zinc Oxide and that apparently depends on the milling process as discussed above.
- Need to start logging rock selection and milling parameters (starting particle size, charge, water, residual)
References
- Hamish Jackson posted an entertaining video that describes his technique. You can find it here on Youtube. Later Hamish discovered the Crazy Crusher. My process, with small variations, is modeled after his.
